- Joined
- Feb 25, 2010
- Messages
- 3,732
- Age
- 33
- Location
- Southend, UK
- Gil
- 0
- FFXIV
- Yuno Mizuno
- FFXIV Server
- Lich
- Free Company
- Silver Lining
Hiii  today i'm going to be showing you how to create a half border for your signatures... it quite simple and u can do it in a few mins
there are two times when you can add the border")
1. after you applyed the image the final time
2. after u finish everything and u saved it as a PNG
I will be showing you both methods
Method 1: after you finished adding ur effects.. lighting etc.. apply the image (I always do this before sharpening, bluring etc) for this example.. I will be using my current sig i have
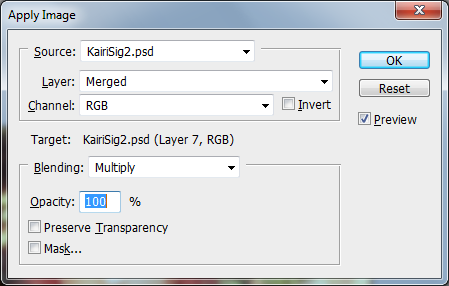
first create a new layer at the top, then go to Image - Apply Image, then this dialog box will appear
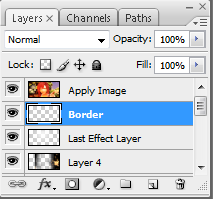
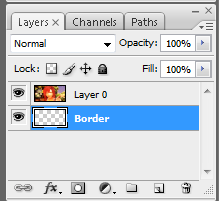
Click ok, then create another new layer.. this layer will go below the layer for your apply image.. like this
Make sure you are on the border layer, then go to Image - Canvas size, another dialog box will appear. Change the drop boxes that say CM to Pixels, and check the Relative box
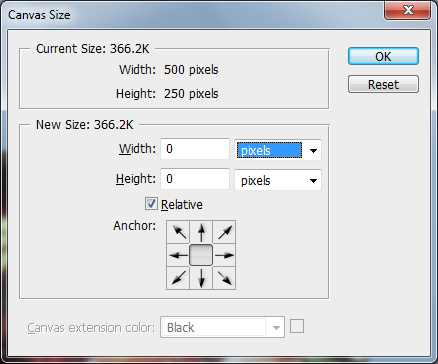
then type in ur size u want the border to be.. do width if you want ur border on the left and right.. or height if u want ur border on the top and bottom, I normally do a 10px border, then click ok.
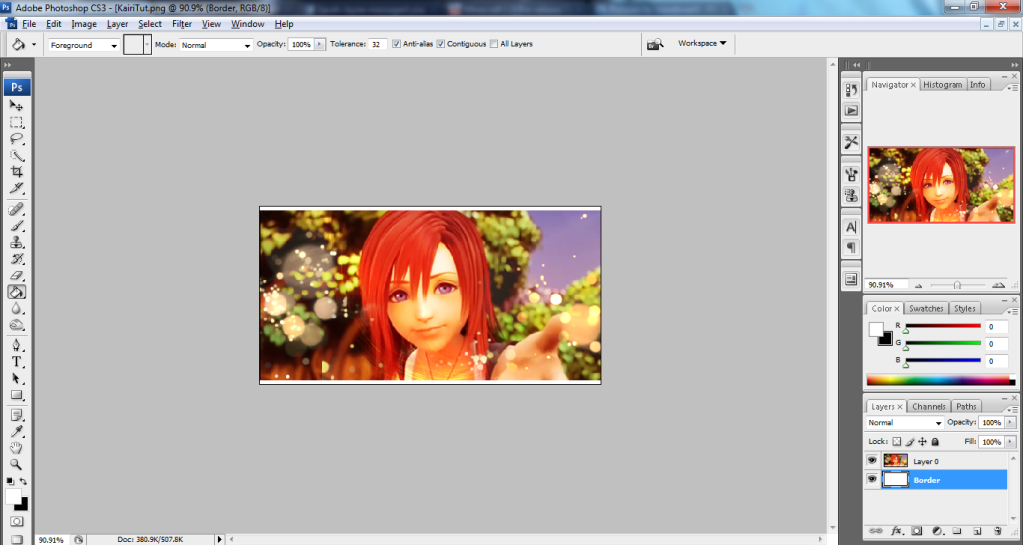
finally, make sure ur on the border layer, then pick ur paint bucket tool (it the button with a bucket on it, chosse the colour u want, (I do white) and click anywhere on ur signature, then you have ur border
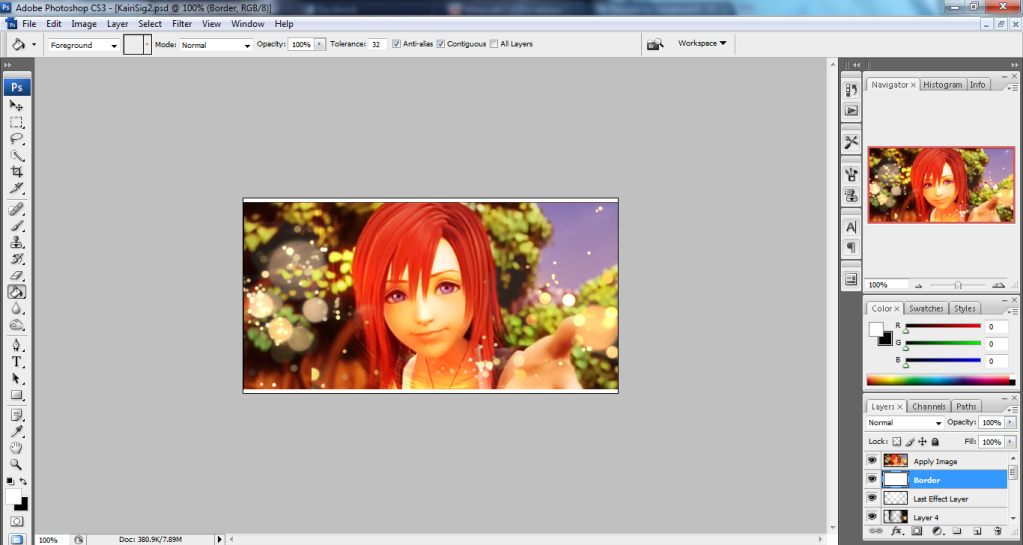
add ur sharpen, blur, burn or whatever.. add ur text.. then ur finished.. here ur result

Method 2: after u are finished, open ur finished PNG In photoshop, add a new layer below layer 0
then go to Image - Canvas Size
Same as before, change the drop to pixels and check the check box, choose ur border size, click ok. then as before, choose the paint bucket tool, choose ur colour, make sure u are on the border layer, and click on ur sig to make the border
soo there you have it, that how you make a half border.. hope this has helped you.. feel free to comment on the tutorial
one bit of warning, DO NOT ADD ANY OTHER LAYER APART FROM TEXT AFTER YOU HAVE ADDED THE BORDER. I normally do my sharpen and add my text before adding the border layer and adding the border.. just make sure it under the layer where you applyed the image
ok thank you for reading
today i'm going to be showing you how to create a half border for your signatures... it quite simple and u can do it in a few mins there are two times when you can add the border
1. after you applyed the image the final time
2. after u finish everything and u saved it as a PNG
I will be showing you both methods
Method 1: after you finished adding ur effects.. lighting etc.. apply the image (I always do this before sharpening, bluring etc) for this example.. I will be using my current sig i have
first create a new layer at the top, then go to Image - Apply Image, then this dialog box will appear
Click ok, then create another new layer.. this layer will go below the layer for your apply image.. like this
Make sure you are on the border layer, then go to Image - Canvas size, another dialog box will appear. Change the drop boxes that say CM to Pixels, and check the Relative box
then type in ur size u want the border to be.. do width if you want ur border on the left and right.. or height if u want ur border on the top and bottom, I normally do a 10px border, then click ok.
finally, make sure ur on the border layer, then pick ur paint bucket tool (it the button with a bucket on it, chosse the colour u want, (I do white) and click anywhere on ur signature, then you have ur border
add ur sharpen, blur, burn or whatever.. add ur text.. then ur finished.. here ur result
Method 2: after u are finished, open ur finished PNG In photoshop, add a new layer below layer 0
then go to Image - Canvas Size
Same as before, change the drop to pixels and check the check box, choose ur border size, click ok. then as before, choose the paint bucket tool, choose ur colour, make sure u are on the border layer, and click on ur sig to make the border
soo there you have it, that how you make a half border.. hope this has helped you.. feel free to comment on the tutorial
one bit of warning, DO NOT ADD ANY OTHER LAYER APART FROM TEXT AFTER YOU HAVE ADDED THE BORDER. I normally do my sharpen and add my text before adding the border layer and adding the border.. just make sure it under the layer where you applyed the image
ok thank you for reading
