Andromeda
\m/>.<\m/
Well This is my very first Tutorial I have ever made  Sorry if its hard to follow and sorry I'm not able to tell what brushes i've used... So may i have can't remember where they are called)
1/First begin with a blank white canvas of a size your choice. I preferably like 350 x 130 in this one.
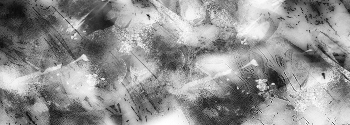
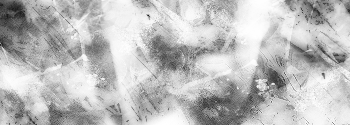
2/ Begin with the brush work background using black and white. First black brushwork and then a new layer of white brushwork untill you get a satisfying looking background. (Creating a new layer each time)
(Some layer you can add overlay, soft light's, and opacity and fill percentage down)
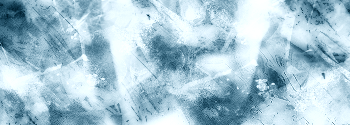
3/ Simply add you colour. I decided to go with an icy kind of blue. Use the colour balence for this.
(For the colour I used-
Midtones -8, +32 +65
Highlights -9 +2 +12
Shadows -9 +17 +15)
4/ Now for a couple of filters.Each filler select the whole tag, copy merged and paste it to work on.
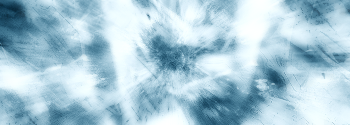
The first is a small motion blur
Angle: -35
distance: 15
And make this set on a soft light and the layer set to a opacity of 75%
Then add a radial blur in the form of a "zoom" look. Set it to zoom and quality on best. The amount should be about 25. Then set it with an opacity between 50-60%
5/Adding a small bit of abstract brush like a sunrising (sorry not sure what set it is from) Centerised on a soft light
6/Afterwards add a curves layer so it becomes darker. Start the point from the middle then move downwards.
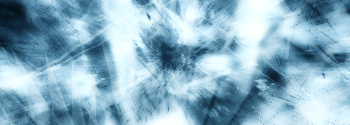
7/( Select all. copy merged and paste to do this again)
Make a lighting effect so at the bottom center become the main light emitting place. Use a defualt spotlight for this and set it so only the top corners are in the darkness. Then set on a overlay blending mode.
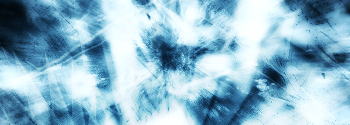
8/ Next add a line tool which is perfectly straight the using the free transform tool rotate them into the correct position to make them lighting like (Or maybe use a lighting tut for this)
9/ To add a border simply create a new layer and select all. Using a stroke at about 3px set that layer to overlay.
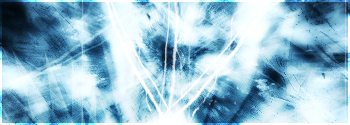
(Optional)
A/ Add a straight line brush at the bottom for a "guideline" for you text to lay on.
B/ Add you quote into this sig. following these lines. Formine I used a simple typography of "Century Gothic" One word bigger than the the other.
Finshed Product:
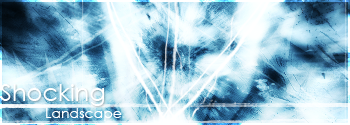
Yours could be different depending on the type of brushes you have gone for, how easy you found it to follow or the colour you used. OR maybe if you have placed in some of your own style as well...I know I can never finish tuts cause there different to how i make things
Hope You could follow it :anime:
 Sorry if its hard to follow and sorry I'm not able to tell what brushes i've used... So may i have can't remember where they are called)
1/First begin with a blank white canvas of a size your choice. I preferably like 350 x 130 in this one.
2/ Begin with the brush work background using black and white. First black brushwork and then a new layer of white brushwork untill you get a satisfying looking background. (Creating a new layer each time)
(Some layer you can add overlay, soft light's, and opacity and fill percentage down)


3/ Simply add you colour. I decided to go with an icy kind of blue. Use the colour balence for this.
(For the colour I used-
Midtones -8, +32 +65
Highlights -9 +2 +12
Shadows -9 +17 +15)

4/ Now for a couple of filters.Each filler select the whole tag, copy merged and paste it to work on.
The first is a small motion blur
Angle: -35
distance: 15
And make this set on a soft light and the layer set to a opacity of 75%
Then add a radial blur in the form of a "zoom" look. Set it to zoom and quality on best. The amount should be about 25. Then set it with an opacity between 50-60%

5/Adding a small bit of abstract brush like a sunrising (sorry not sure what set it is from) Centerised on a soft light
6/Afterwards add a curves layer so it becomes darker. Start the point from the middle then move downwards.

7/( Select all. copy merged and paste to do this again)
Make a lighting effect so at the bottom center become the main light emitting place. Use a defualt spotlight for this and set it so only the top corners are in the darkness. Then set on a overlay blending mode.

8/ Next add a line tool which is perfectly straight the using the free transform tool rotate them into the correct position to make them lighting like (Or maybe use a lighting tut for this)
9/ To add a border simply create a new layer and select all. Using a stroke at about 3px set that layer to overlay.

(Optional)
A/ Add a straight line brush at the bottom for a "guideline" for you text to lay on.
B/ Add you quote into this sig. following these lines. Formine I used a simple typography of "Century Gothic" One word bigger than the the other.
Finshed Product:

Yours could be different depending on the type of brushes you have gone for, how easy you found it to follow or the colour you used. OR maybe if you have placed in some of your own style as well...I know I can never finish tuts cause there different to how i make things
Hope You could follow it :anime:


 . Well its okay, as a GFX maker, most of them know how much text is a pain when you start.
 .
.